High-Resolution Neural Style Transfer without a GPU
Written on September 19th, 2018 by Andrew Campbell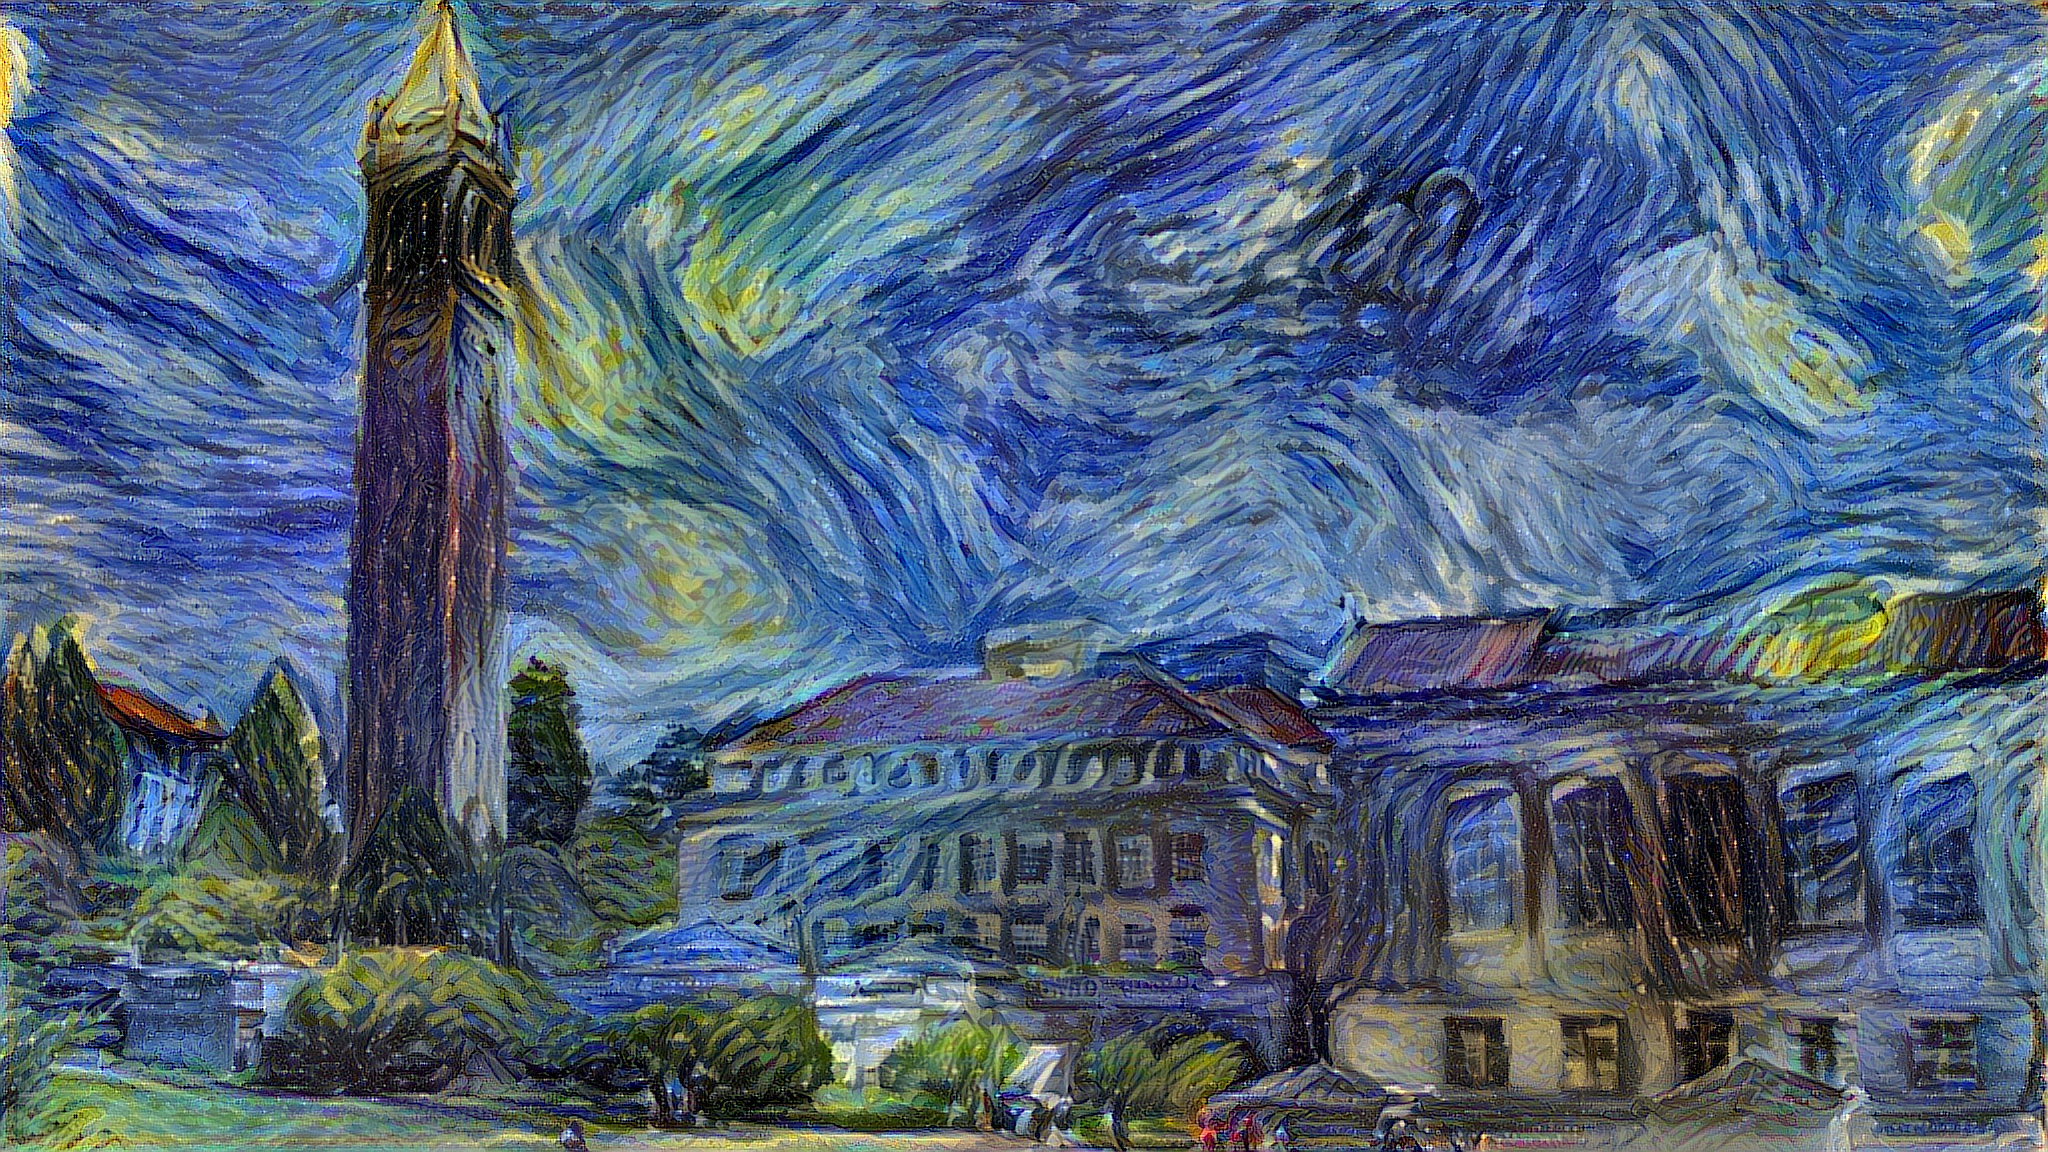
This is a quick post about how I used Justin Johnson’s neural-style implementation in torch to make a script for generating high-resolution output images without the need of a GPU in a reasonable amount of time.
Background
Neural style transfer is the technique used to take a style reference image, such as a painting, and an input image to be styled, and blend them together so that the input image is “painted” in the style of the reference image. This is a relatively new technique that all began with the 2015 paper A Neural Algorithm of Artistic Style, which presented an approach to style transfer using Convolutional Neural Networks (CNNs).
Some of the example results from the original paper are shown below:

The Code
I used Justin Johnson’s torch implementation of the CNN to get started. The real fun with style transfer comes from high-resolution images that can be used as wallpapers. Unfortunately, training a CNN on high-resolution images turns out to be (very nearly) prohibitively expensive. The linked implementation includes a high-resolution result, but it was only made possible using four high-end GPUs.
However, I found that a multi-scale approach of generating successively higher image resolutions along with fewer iterations produced good results. That is, feeding the low-resolution output of one network as the input to a higher-resolution network allows us to preserve the bulk of the computation done at the previous resolution and simply scale up the results.
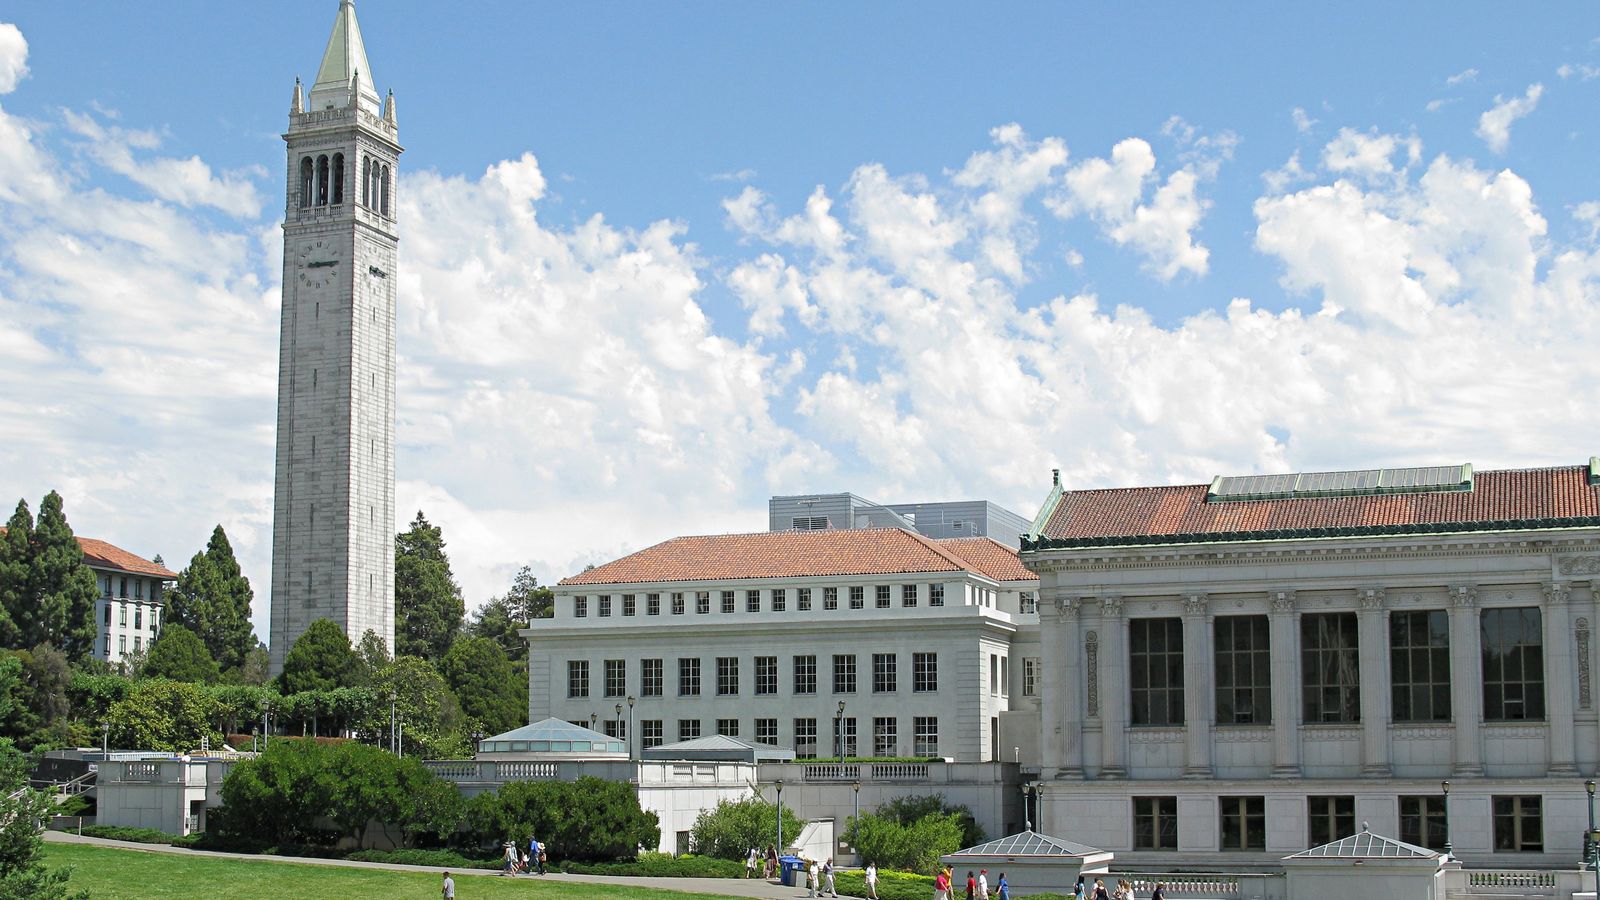
Using the following python script, I was able to create the 2048x1280 image shown below in just 45 minutes with a 2015 Macbook Pro in CPU-only mode.

import os
import time

CONTENT_DIR = 'input/'
STYLE_DIR = 'style_input/'

CNT = 0

for content_im, style_im in [
		(CONTENT_IM1, STYLEIM1), # add your image pairs here!
		(CONTENT_IM2, STYLEIM2),
		...
	]:
	print("*****Styling {} to {}*****"
		.format(content_im, style_im))

	start_time = time.time()
	os.system(
		"""
		STYLE_WEIGHT=5e2
		CONTENT_IMAGE={}
		STYLE_IMAGE={}
		NAME={}

		th neural_style.lua \
		-gpu -1 \
		-content_image $CONTENT_IMAGE \
		-style_image $STYLE_IMAGE \
		-style_weight $STYLE_WEIGHT \
		-image_size 512 \
		-num_iterations 1000 \
		-print_iter 100 \
		-save_iter 200 \
		-tv_weight 0 \
		-output_image save_points/$_512.png

		th neural_style.lua \
		-gpu -1 \
		-content_image $CONTENT_IMAGE \
		-style_image $STYLE_IMAGE \
		-init image -init_image save_points/$_512.png \
		-style_weight $STYLE_WEIGHT \
		-image_size 1024 \
		-num_iterations 80 \
		-print_iter 10 \
		-save_iter 20 \
		-tv_weight 0 \
		-output_image save_points/$_1024.png

		th neural_style.lua \
		-gpu -1 \
		-content_image $CONTENT_IMAGE \
		-style_image $STYLE_IMAGE \
		-init image -init_image save_points/$_1024.png \
		-style_weight $STYLE_WEIGHT \
		-image_size 2048 \
		-num_iterations 25 \
		-print_iter 1 \
		-save_iter 5 \
		-tv_weight 0 \
		-output_image save_points/$_2048.png
		"""
			.format(
				CONTENT_DIR + content_im,
				STYLE_DIR + style_im,
				str(CNT),
			)
	)

	elapsed_time = time.time() - start_time
	print("Time elapsed:")
	print(time.strftime("%H:%M:%S", time.gmtime(elapsed_time)))
	global CNT
	CNT += 1
Essentially the style transfer is first done to produce an image with maximum dimension 512 and then repeatedly scaled up to 2048, with fewer iterations needed at each scale. To use this script, simply download the torch implementation linked above and replace CONTENT_IMX and STYLEIMX with your desired content and style images (placed in the appropriate directories), respectively.
I would recommend starting the script before going to sleep so you can wake up to your beautiful results in the morning!
Gallery
I conclude with some of my favorite images produced with the script.
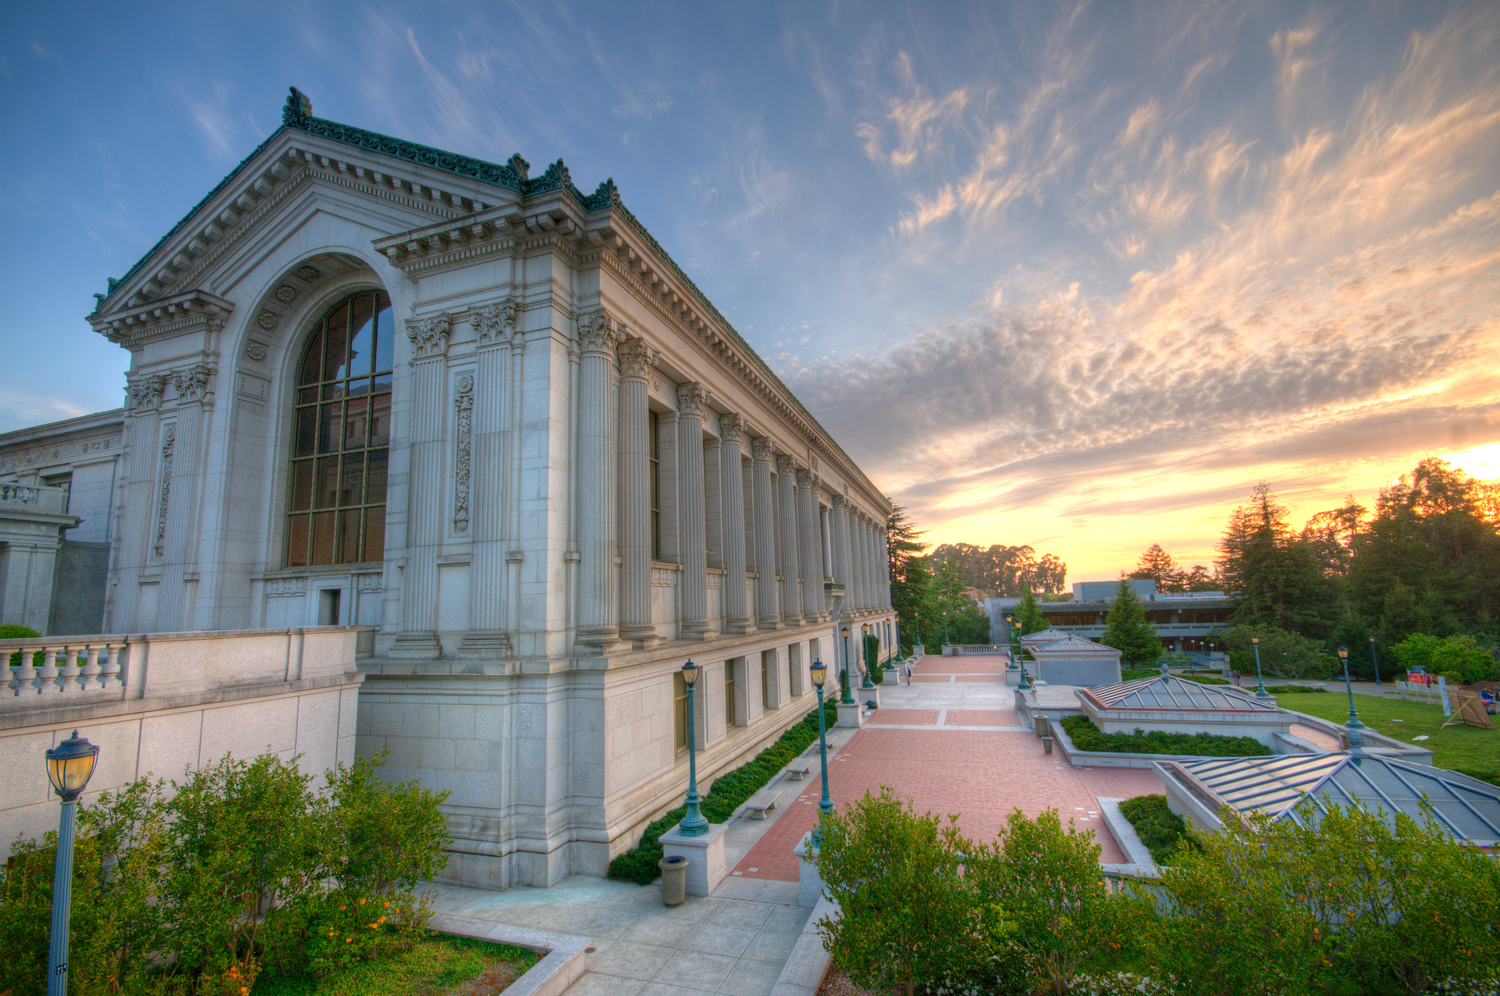
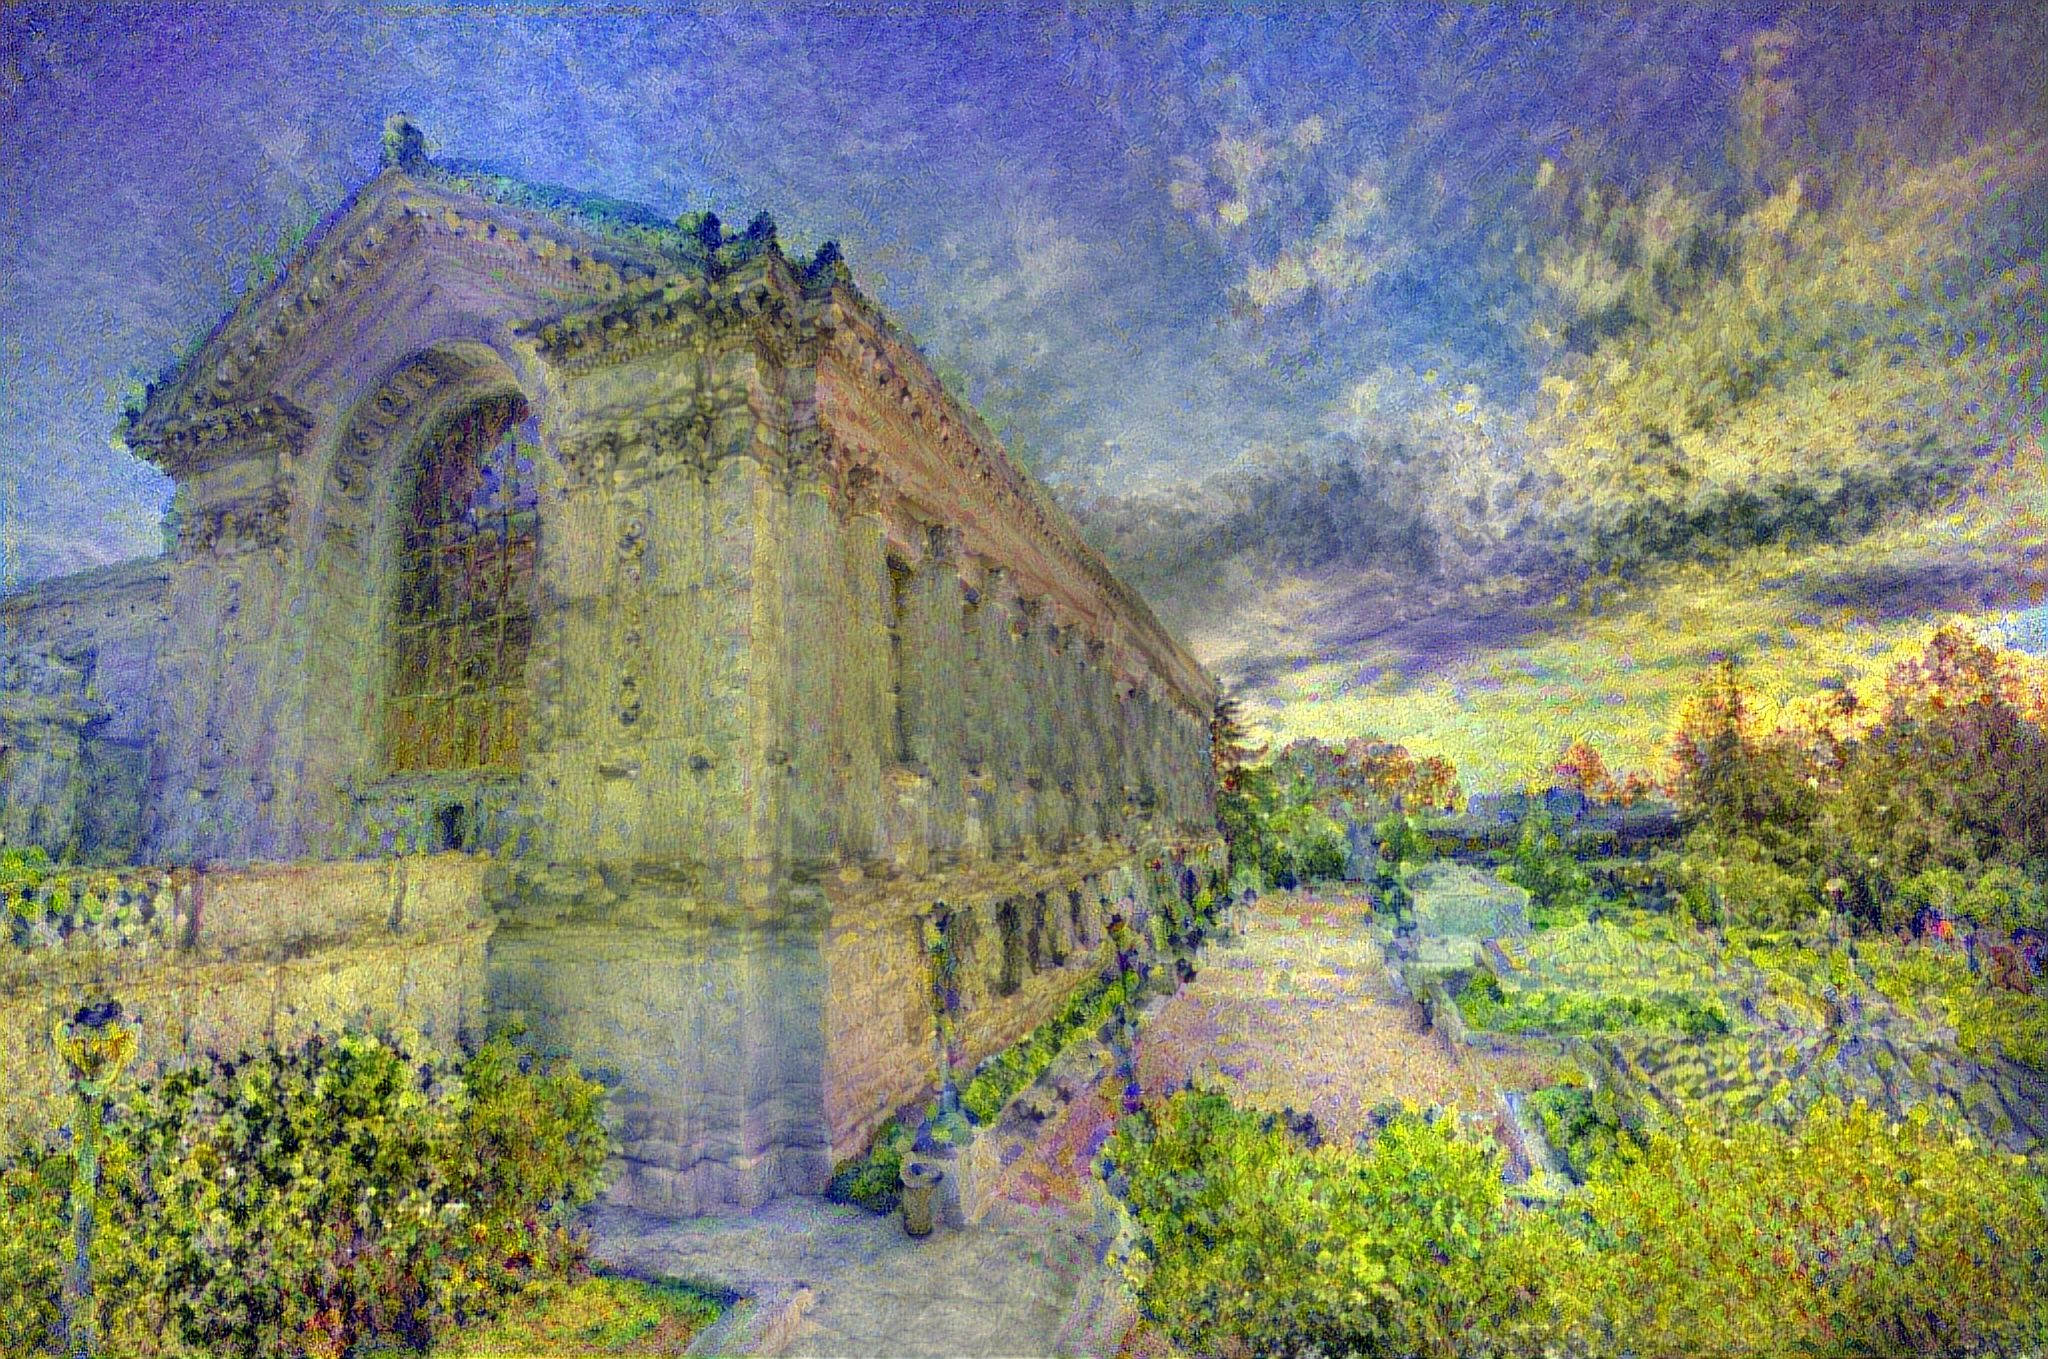
A photo of Doe library styled to Monet’s Pres Monte-Carlo.
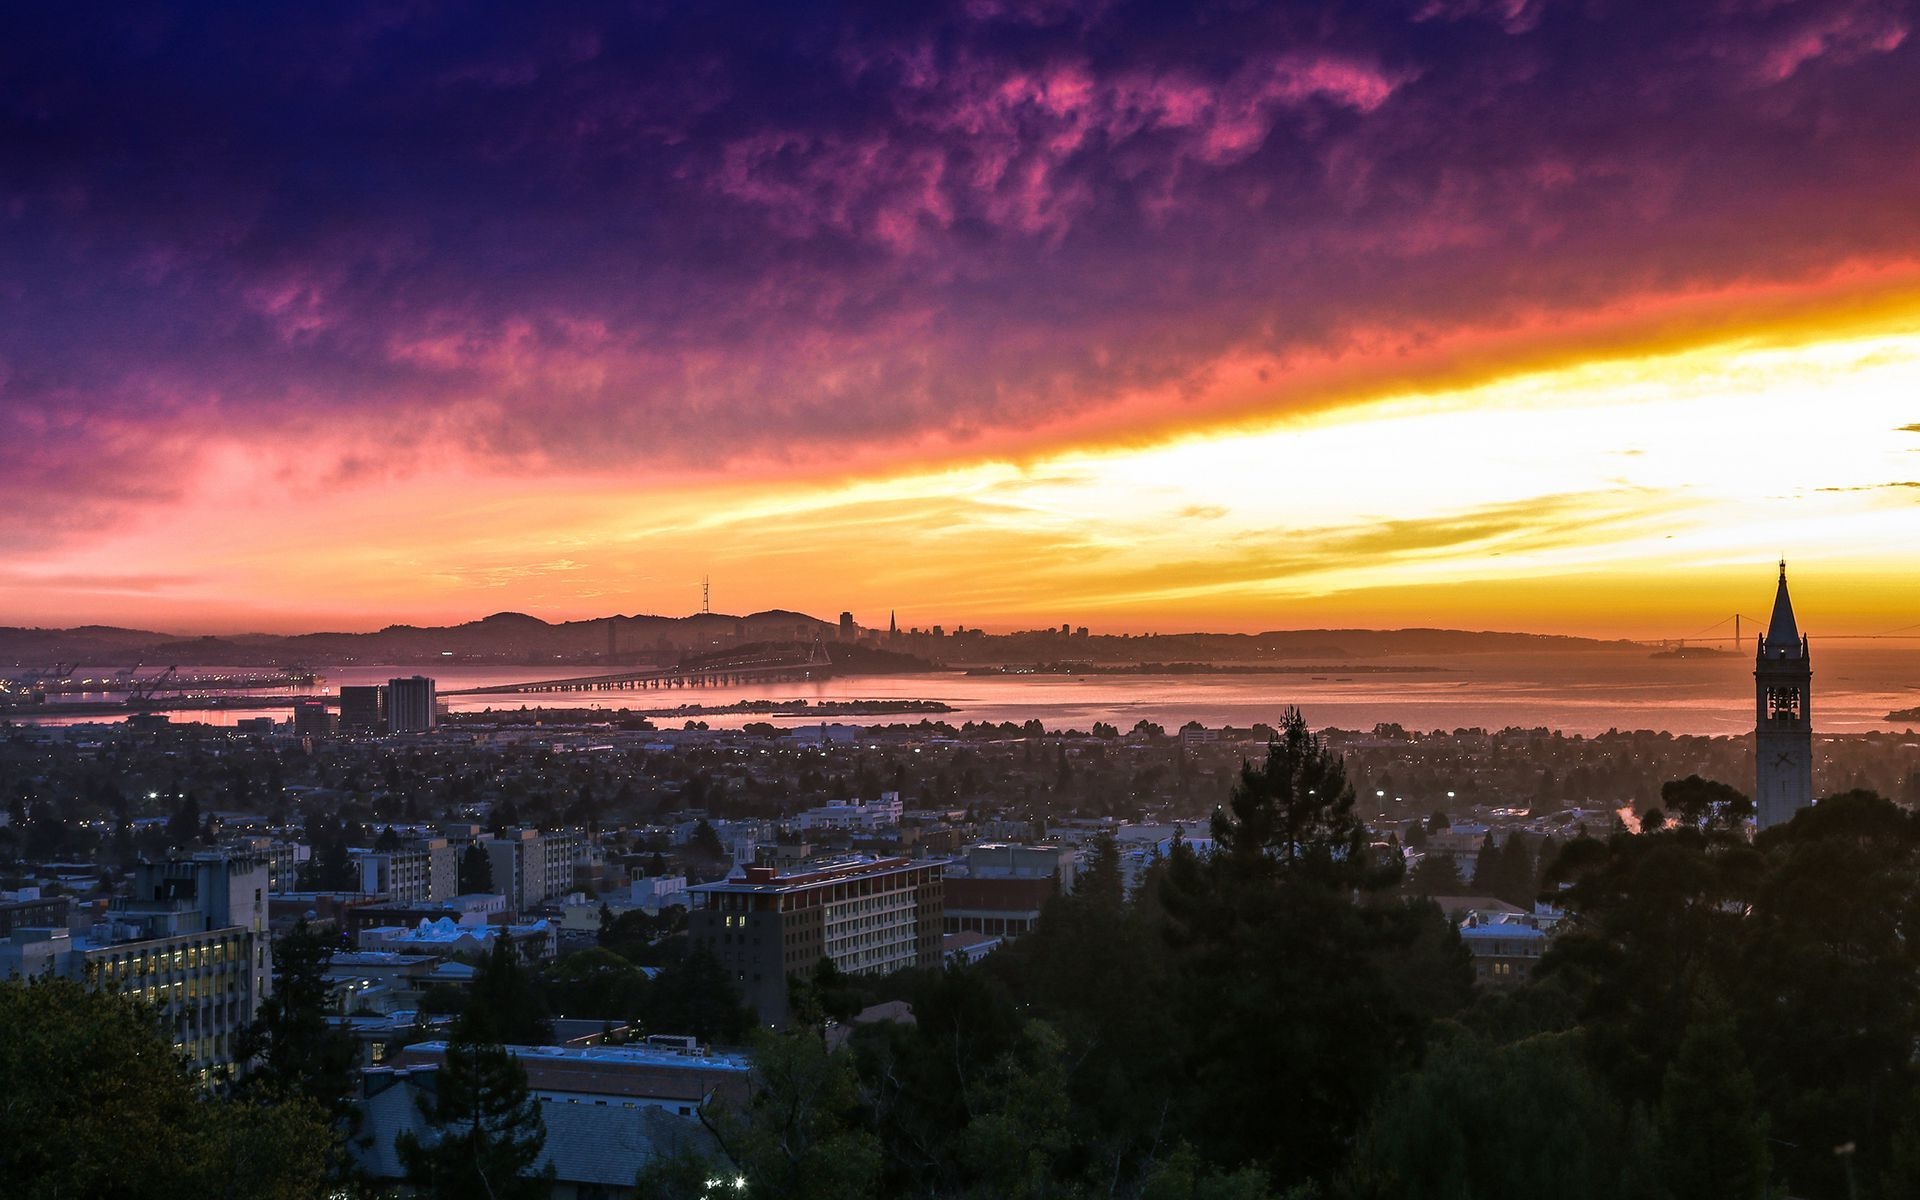
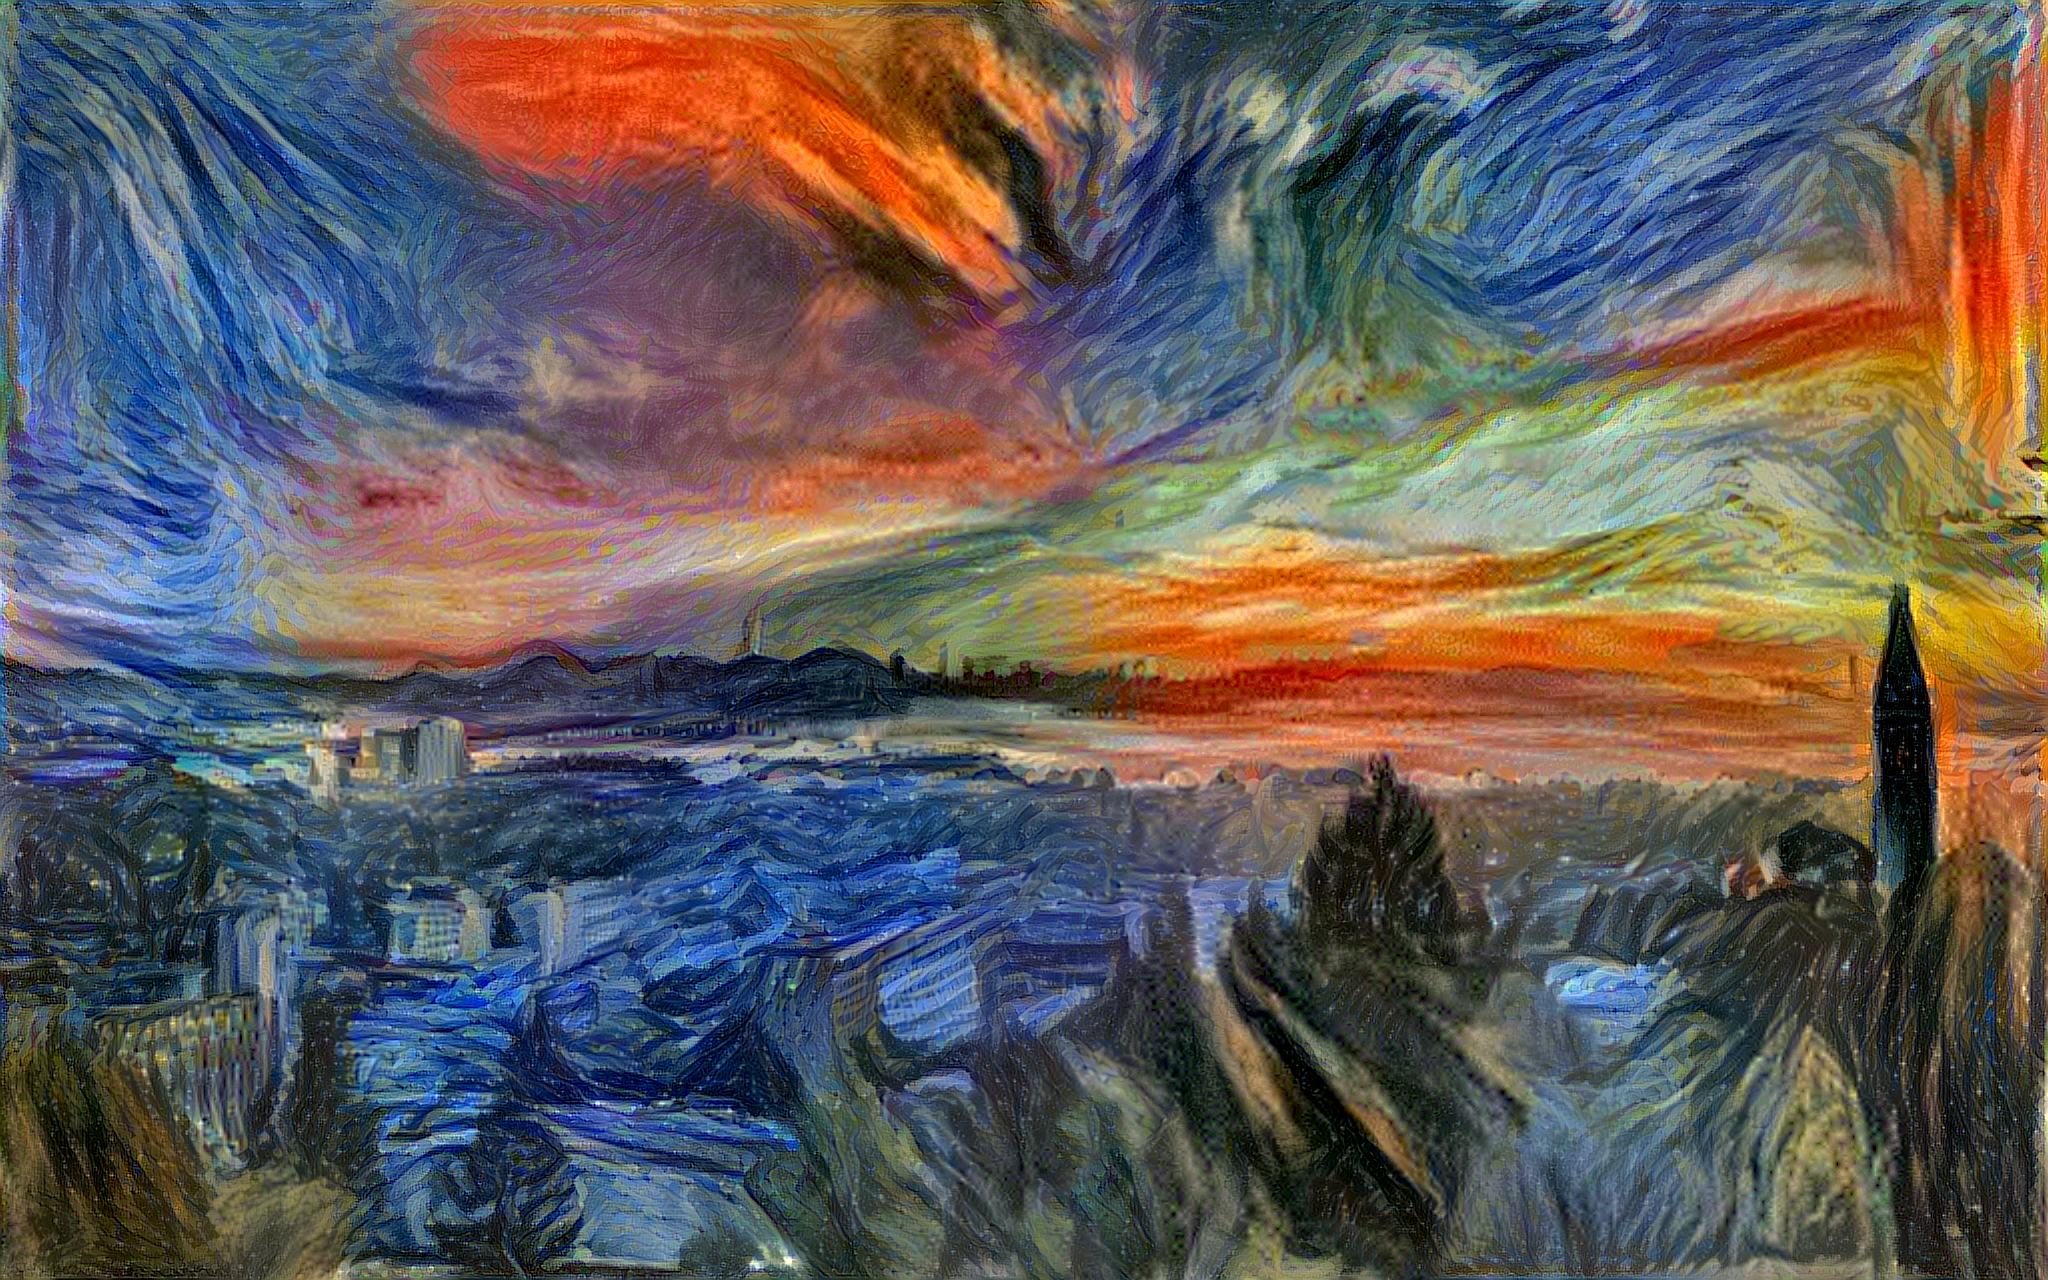
A photo of Berkeley styled to both Van Gogh’s Starry Night and Munch’s The Scream, weighted equally.
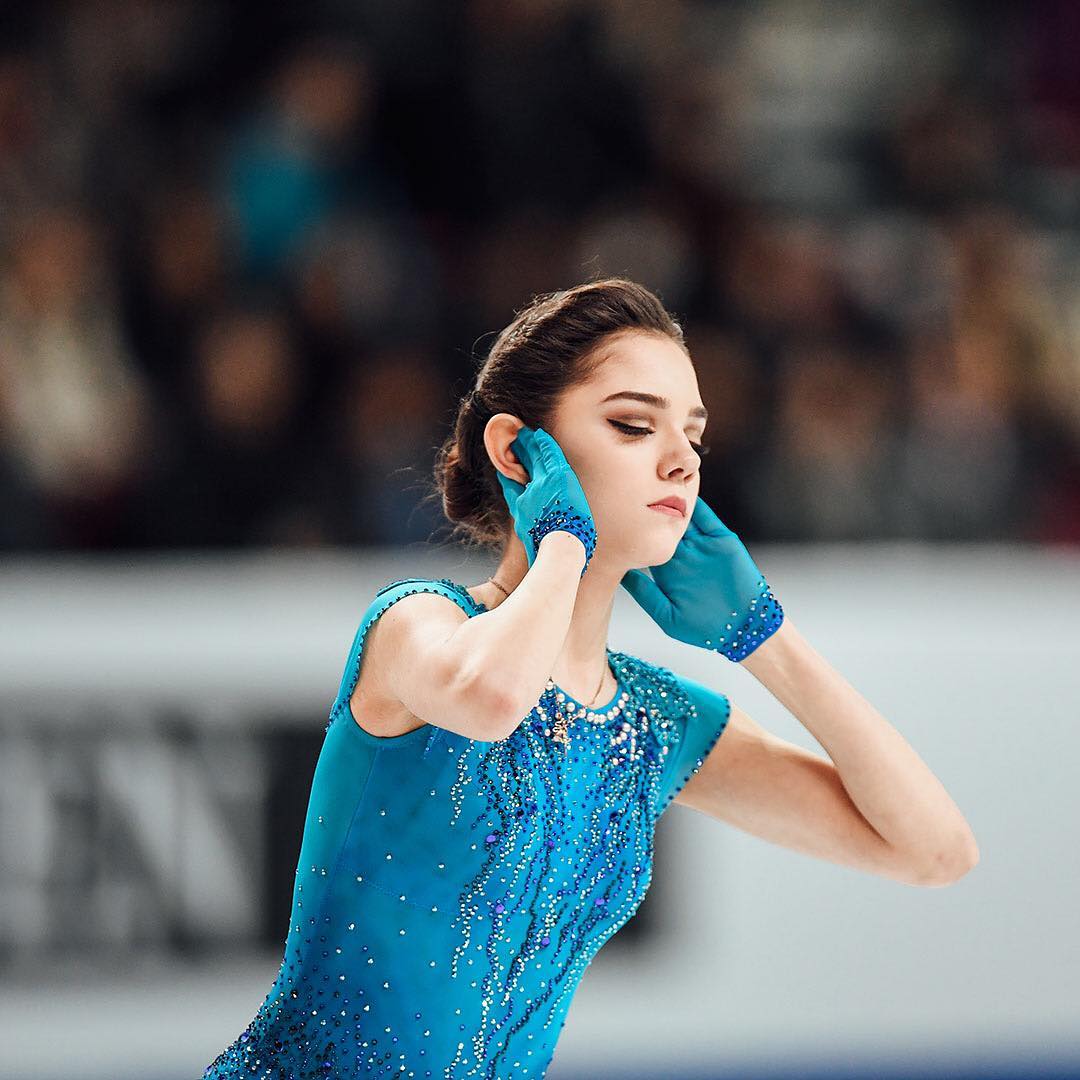
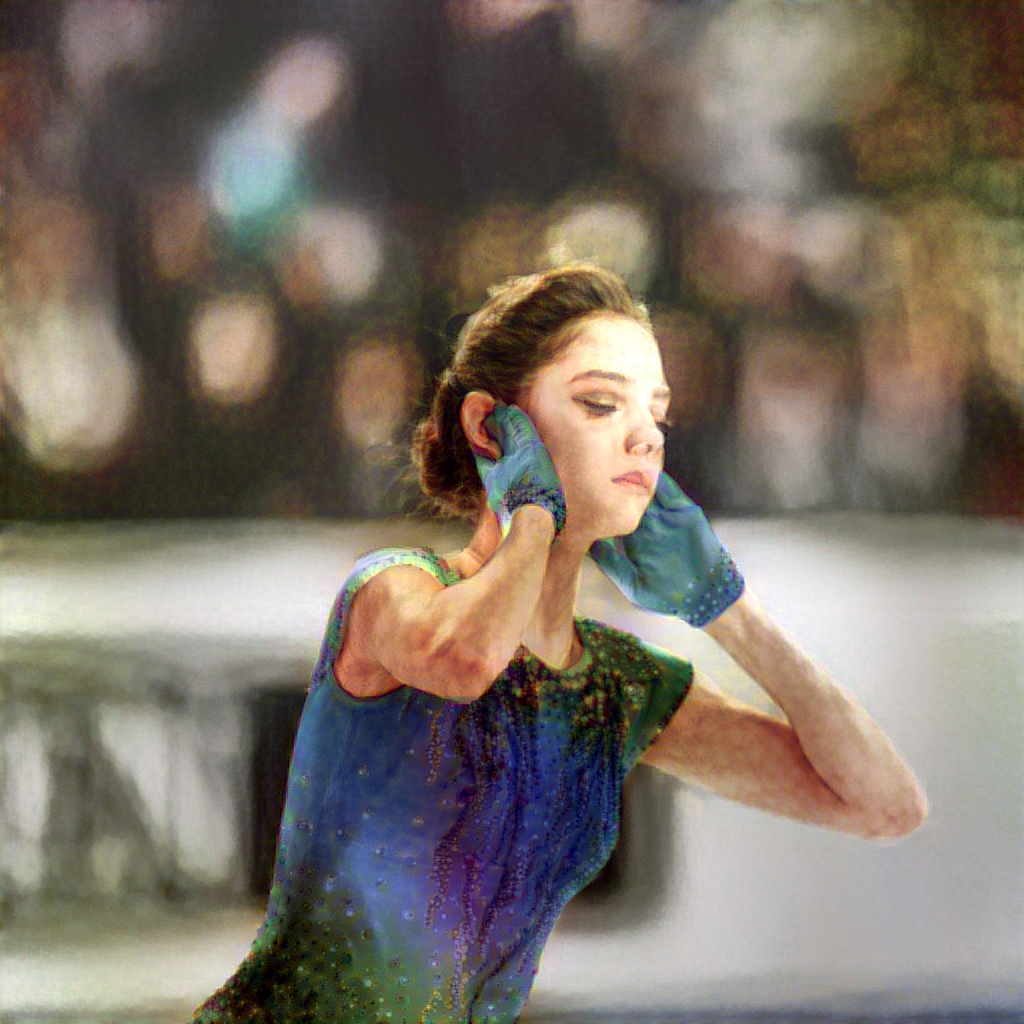
A photo of world-champion figure skater Evgenia Medvedeva styled to Bouguereau’s The Broken Pitcher.
© Andrew Campbell. All Rights Reserved.